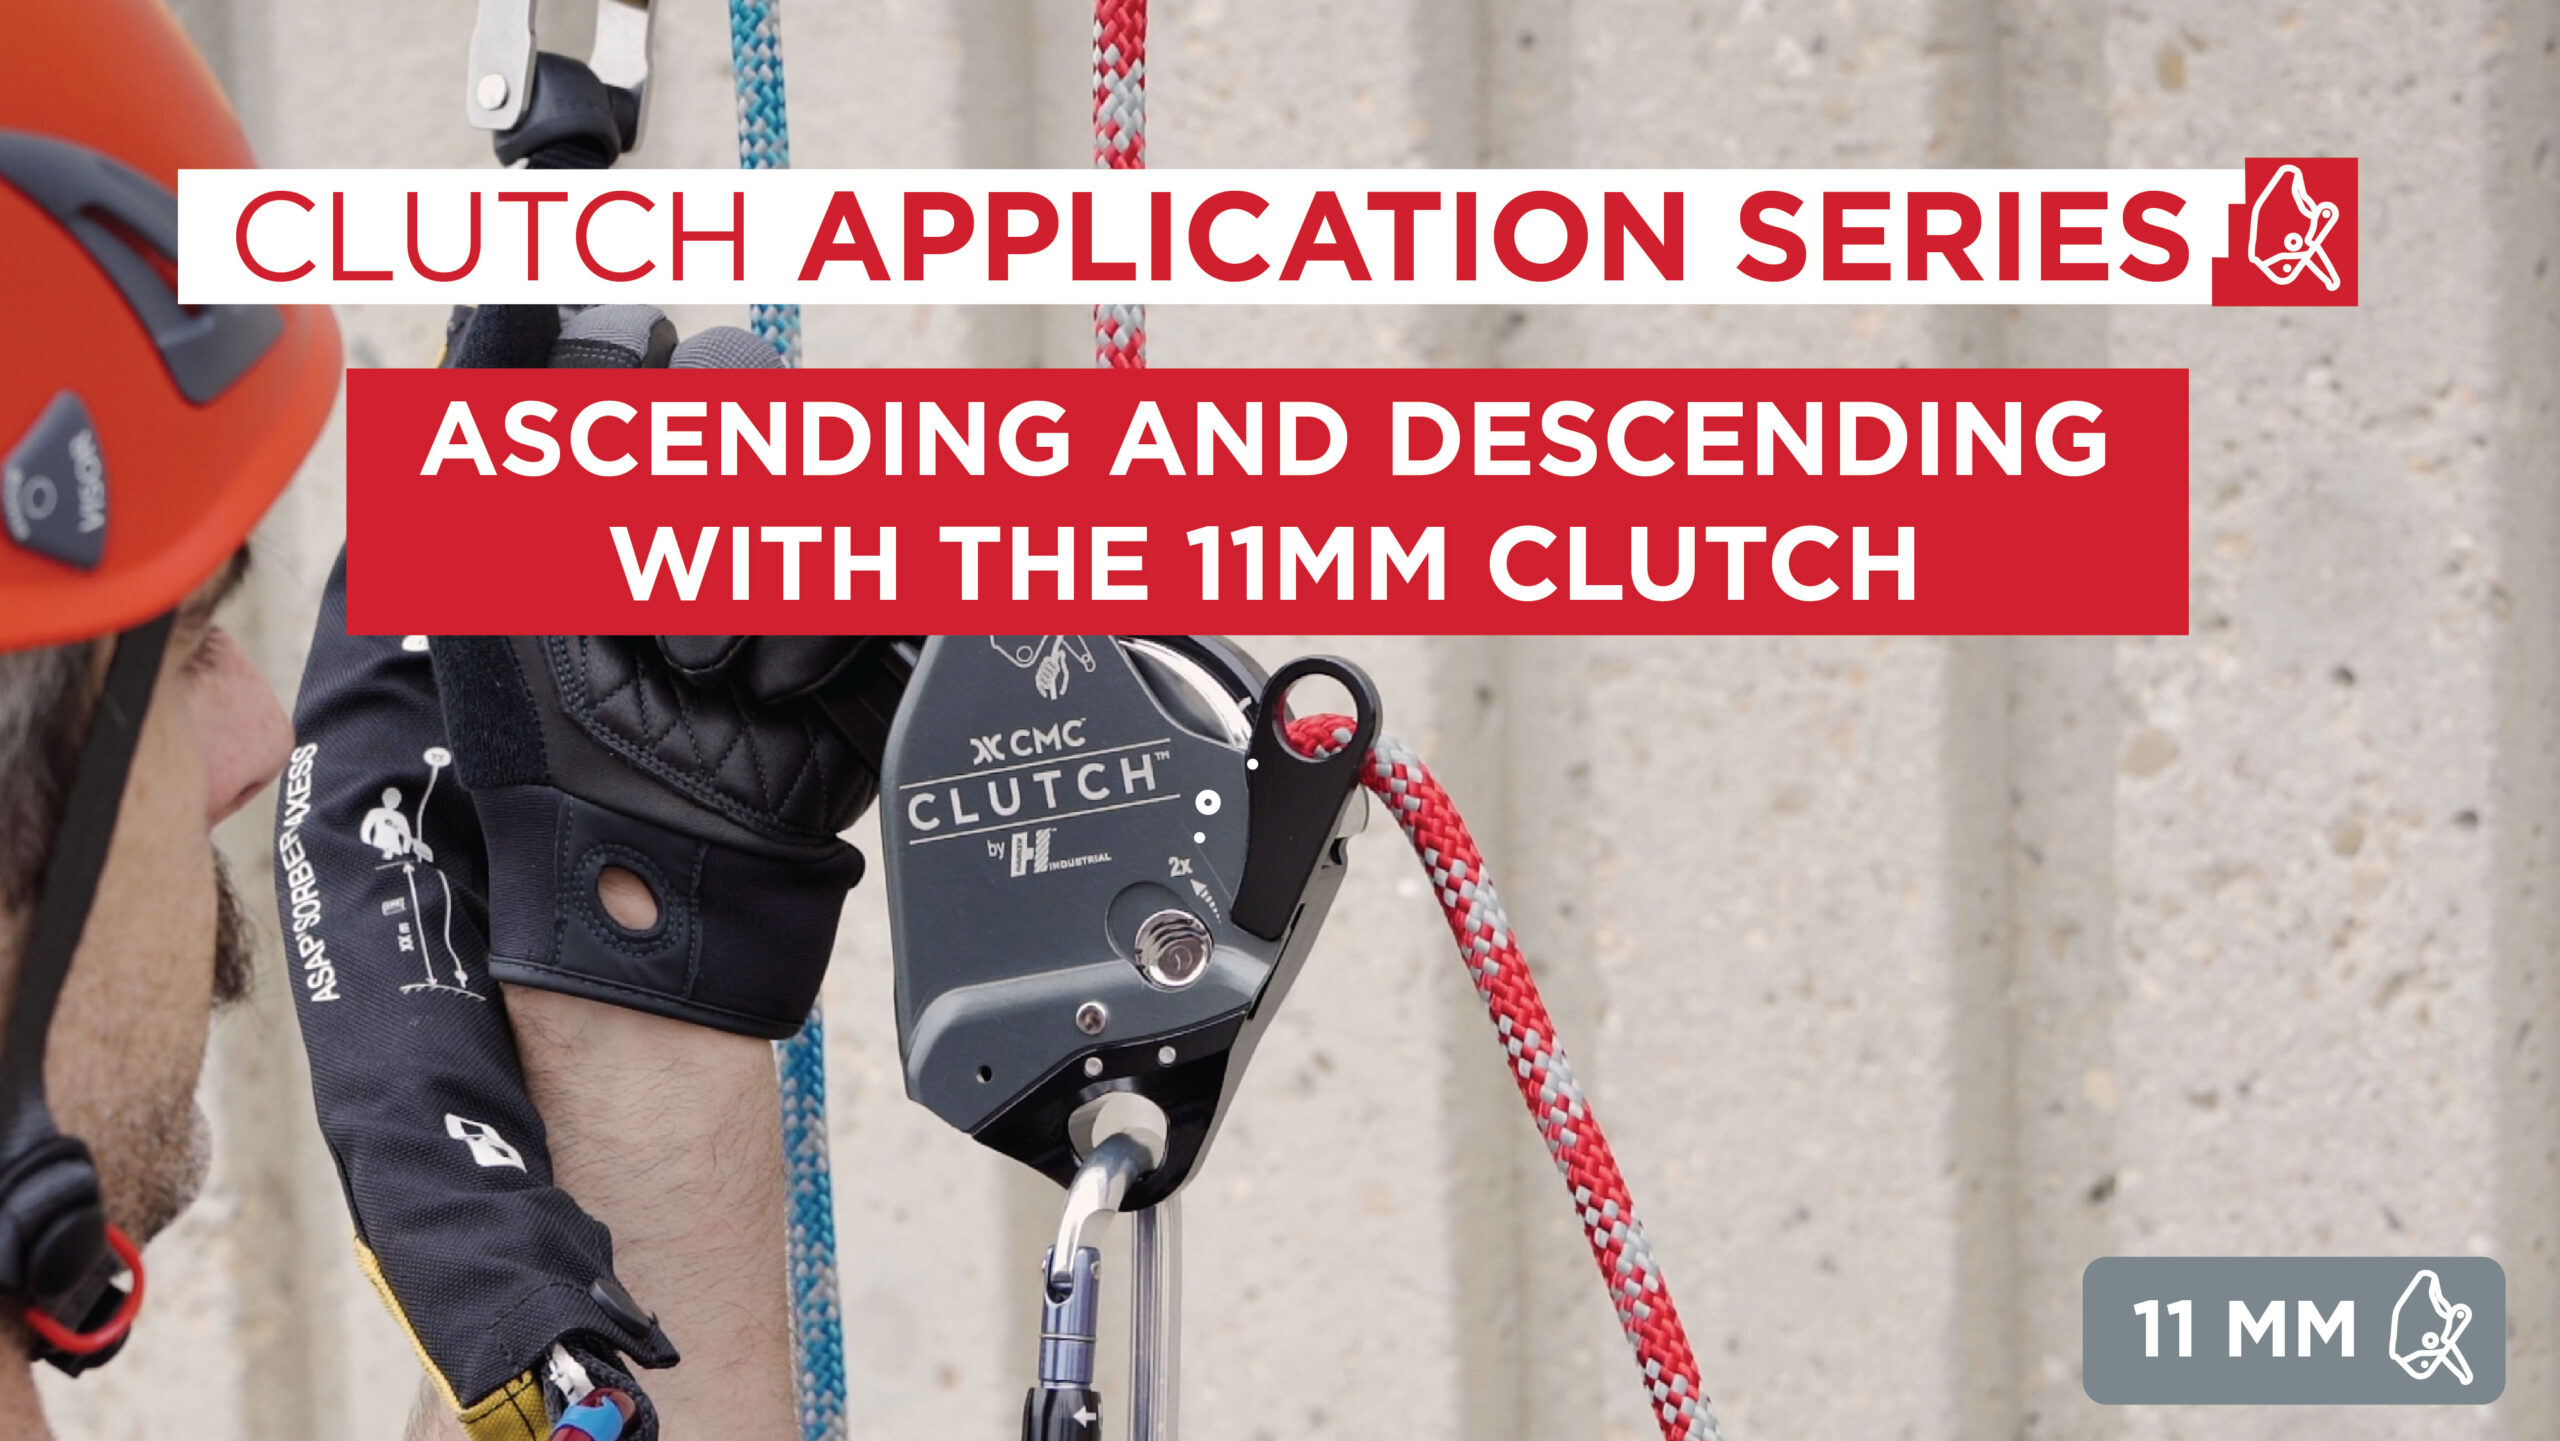
CLUTCH 11mm Ascending & Descending
This video explains how to ascend and descend with the 11mm CLUTCH. We begin by demonstrating a simple step-up ascent method then progress to a Rapid Ascent and Descent (RAD) technique. While there are many ways to move on the rope, we recommend these approaches for utility and ease of use. Always use a backup when training or working on rope.
00:20 – Overview
01:05 – Safety Check
01:48 – Step Up Technique
02:16 – RAD Technique
02:47 – Work Positioning
03:16 – Descending the Rope
03:57 – Stopping Descent & ANTIPANIC
04:17 – Load & Descent Speeds
**Full Transcript Below**
The CMC CLUTCH™ by Harken Industrial™ is the latest evolution in rescue and rope access hardware. Suited to a multitude of rigging operations, the CLUTCH moves seamlessly between anchor-based systems and personal use.
Hi I’m John McKently. I’m the director of the CMC Rescue School.
For this video, we will focus on the CLUTCH being used for personal ascent and descent on a mainline with a backup.
Both the 11mm gray CLUTCH and 13mm Red CLUTCH function the same in this scenario, the primary difference between them being the rope diameter compatibility. In this video, we complete each task using the 11mm gray CLUTCH.
We will begin by demonstrating a simple Step-Up Ascent method then progress to a Rapid Ascent and Descent or RAD technique with a 3:1 mechanical advantage. There are many ways to move on the rope, we are recommending these approaches for their utility and ease of use.
Prepare for ascent by checking:
Anchors, harness buckles, lanyards or daisy chains, backup systems, stopper knots, and equipment attachment points.
Load the rope and function test the CLUTCH.
Remove slack from the line by pulling on the rope tail.
Sit in your harness and make adjustments for comfort.
Check to make sure your backup device is working properly on the backup line.
Confirm that the CLUTCH locks up when the control handle is let go and when it’s pulled to the ANTIPANIC position.
Connect your ascender to the rope above the CLUTCH.
Check that the foot loop and safety lanyard or daisy chain are properly attached and adjusted.
Once your equipment is checked, you can begin making a basic ascent.
First, push your ascender up the rope.
Next, stand-up in your foot loop and simultaneously pull slack through the CLUTCH.
Then, sit in your harness to transfer your weight to the CLUTCH.
Repeat this process as needed, if a rest is required, sit in your harness and the CLUTCH will maintain your position hands free.
For ascents involving heavier loads or significant tail weight, the RAD technique is recommended. Here’s how it’s done.
Clip a pulley to the ascender. Run the rope tail from the CLUTCH up through this pulley to create a redirect.
The result is a 3:1 mechanical advantage where the technician is able to pull down with more leverage using body and rope weight. This helps conserve energy.
To ascend, follow the same sequence noted previously. The only difference is you will now be pulling down on the rope tail where it exits from the pulley.
When you reach the desired height, you can leave the CLUTCH in STANDBY for easy re-positioning, or rotate the control handle to STOP for added security, this locks the rope in place and tucks the Control Handle out of the way.
The CLUTCH will continue to provide a safe and stable work position when the control handle is positioned in less than vertical orientation on the STOP/STANDBY side of the device. This is a useful feature for technicians who need to frequently go hands free.
When switching from ascent to descent, leave the CLUTCH in STANDBY or STOP.
Stow the ascender, foot loop, and any additional equipment not needed for descent.
Perform safety checks to confirm the backup device is in place and grip the rope tail with your brake hand.
Slowly rotate the CLUTCH control handle towards the RELEASE position to begin a smooth descent. You may prefer using two fingers, as opposed to the entire hand, until you find the “sweet spot” in the CLUTCH that allows rope to feed at a continuous rate.
Once this “sweet spot” is found, you can modulate the descent speed by varying the grip on the rope and the orientation of the rope tail as it feeds into the device.
If you need to stop your descent, release pressure on the control handle and the CLUTCH will automatically lock on the rope.
If you accidentally pull the control handle too far, the ANTI-PANIC feature will stop the rope. Once the control handle reaches the ANTI-PANIC position, it must be reset before continuing descent.
The acceptable descent speed depends on the weight of the load. For loads between 30kg and 200kg, limit the speed below 2 meters per second. For loads over 200kg, limit the speed to below ½ meters per second.
Refer to the CLUTCH manual and the CMC website for additional information.
In the next video we’ll focus on anchor based systems for lowering and hauling, we’ll see you there.