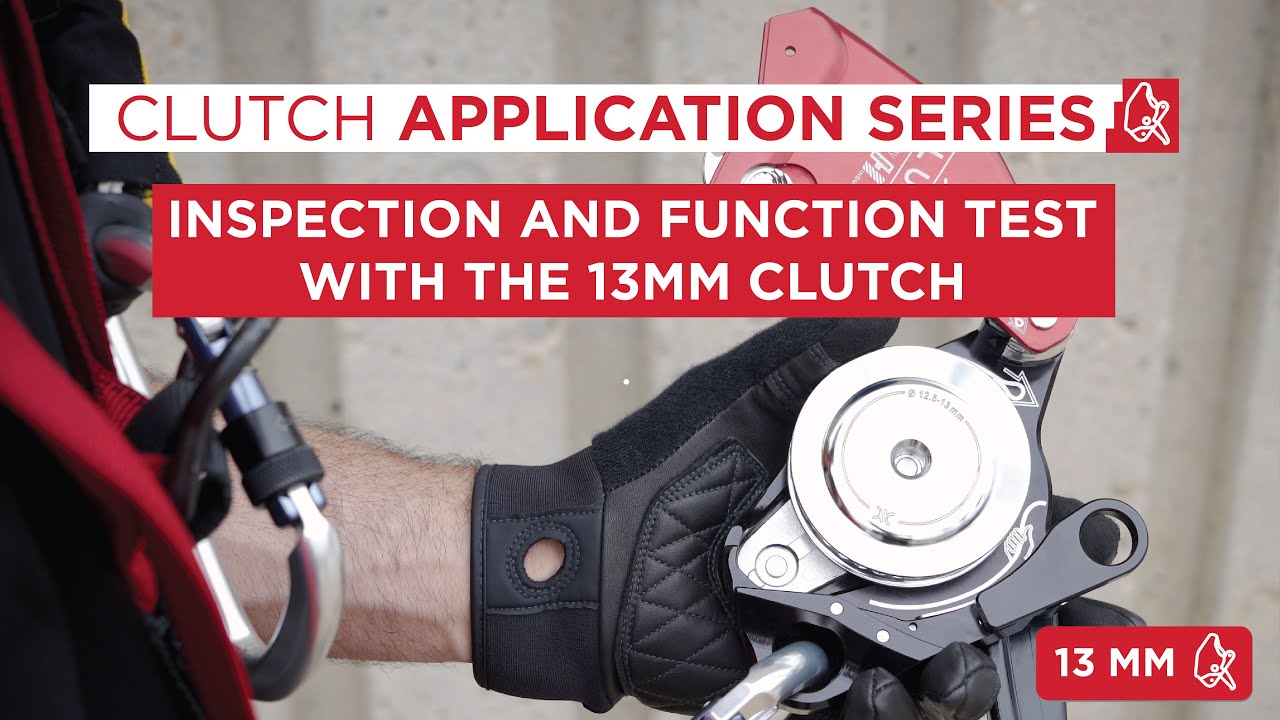
CLUTCH 13mm Inspection & Function Test
In this video, John McKently, former CMC School Director, takes us through an important installment in the CLUTCH Application Video Series: inspecting, loading, and testing the 13mm CLUTCH. These steps should be fully understood and followed to ensure safe operation of your device.
00:24 – Overview
00:33 – Inspecting the CLUTCH
01:10 – Loading Rope
02:03 – Function Test
03:01 – PPE Inspection Resources
**Full Transcript Below**
The CMC CLUTCH™ BY Harken Industrial™ is the latest evolution in rescue and rope access hardware. Suited to a multitude of rigging operations, the CLUTCH moves seamlessly between anchor-based systems and personal use.
Hi I’m John McKently. I’m the director of the CMC Rescue School
For this video, we will focus on the CLUTCH being inspected and function tested prior to use. These steps are essential for safe operation of the device.
Before using the CLUTCH, make sure to do the following:
• Confirm smooth opening of the sideplate, lubricate the latch if needed.
• Confirm the sheave rotates counter-clockwise only.
• Move the control handle through its range of motion.
• Check for foreign objects that can impact operation.
• Confirm the sheave swing arm moves freely.
• Check the sheave for wear using the wear indicators.
• Verify that product markings are present and readable.
• Verify the device has no damage or deformation.
• Retire if the Side Plate does not engage with the chassis.
The next step is to load rope into the device and perform a function test.
The gray CLUTCH is designed for 10.5 – 11mm rope and the red for 12.5 – 13mm rope, also referred to as half inch.
Secure the CLUTCH to an appropriate anchor or attachment point with a locking connector.
To load the rope, open the side plate by actuating the release latch twice.
Next, rotate the control handle to STANDBY. This re-positions the sheave to create space for the rope.
We recommend loading the tail side first to prevent the sheave from blocking the rope path when there’s significant tail weight.
Run the rope from the becket, around the sheave, and out the top of the device.
The tension side of the rope should exit from the top of the device below the pivot arm.
The CLUTCH moves seamlessly between anchor-based systems and personal use.
Before each use, verify that the rope is correctly installed and that the device is working properly. Always use a backup safety system when performing this test.
First, rotate the control handle to STANDBY and give a quick pull on the tension side of the rope. When rigged correctly, the CLUTCH will lock up.
Remove slack from the tension side by pulling on the rope tail. Listen for the audible clicking sound to confirm the CLUTCH is rigged properly.
While in STANDBY, gradually load the device. Grip the rope tail and move the control handle to the RELEASE position, allowing the rope to move through the device.
Confirm that the CLUTCH locks up when the control handle is let go and when it’s pulled to the ANTIPANIC position.
Once the function test is complete, the CLUTCH is ready for use. Always keep slack out of the tension side to avoid freefall. Continue to regularly monitor the device and its connections to other equipment.
The CLUTCH should be inspected before and after each use. CMC also recommends a detailed inspection by a competent person every 12 months. Record the date of inspection and the results using the downloadable forms available on our website.
In the next video we will discuss ascending and descending rope with the CLUTCH. We’ll see you there.